Preparation
Windows Remote Management
- The SCCM web service uses Windows Remote Management (WinRM) to manage clients. To ensure it functions correctly, please follow the checklist below.
- The Windows service for WinRM must be enabled on the server and set to start automatically
- The Windows service for WinRM must be enabled on all clients to be managed and set to start automatically
- The port for WinRM must be configured
- If the policy for executing PowerShell scripts on the clients to be managed is set to RemoteSigned, all PowerShell scripts in the Web Service directory PS1 must be signed
- Firewall rule for WinRM created
- The web service has administrative access to the clients to be managed (depending on the configured account of the IIS application pool ‘SCCM Manager Pool’; default: Local System)
Create a new user account
To create a new user account, you will need Microsoft SQL Server Management Studio.
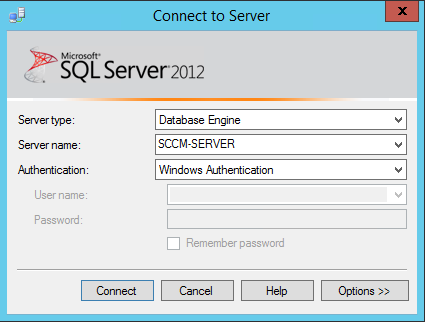
You must connect to the server hosting the SCCM database.
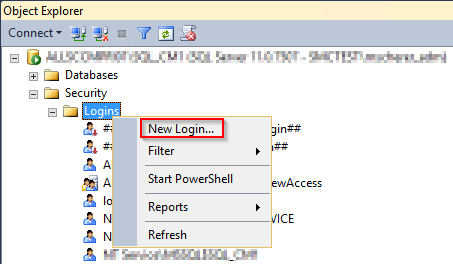
On the relevant server, expand the ‘Security’ folder and open the context menu for the “Logins” folder. Select the ‘New Login...’ option.
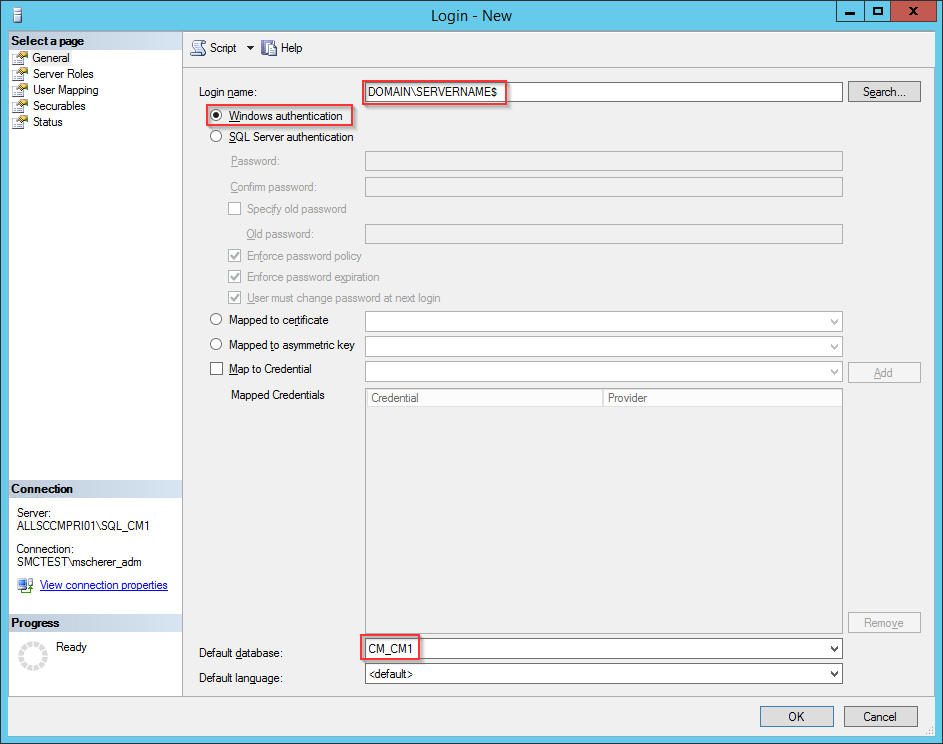
Enter the domain and the name of the server on which the SCCM Manager database is located. As this is a computer user, a ‘$’ must be added at the end of the name. In this example, the option ‘Windows authentication’ is also selected. Optionally, the SCCM database can be selected as the ‘Default database’.
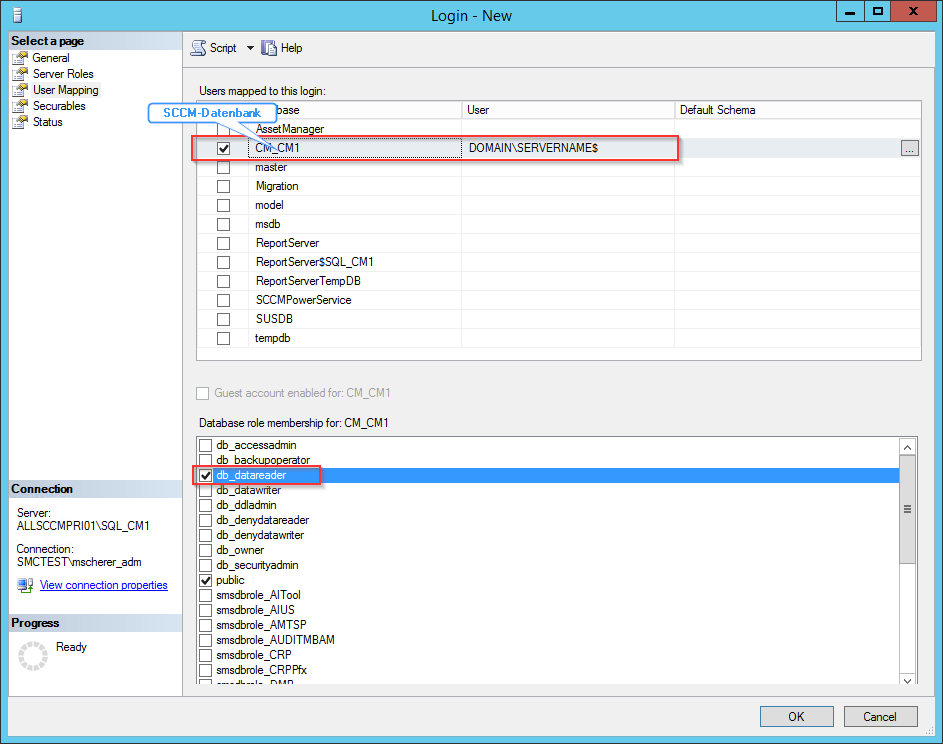
Go to the ‘User Mapping’ tab and select the SCCM database there. The user must be granted permission to read the database (db_datareader). Click ‘OK’ to create the user login.
Datenbase
During the automatic installation, a database named “SCCMManager” is created. This requires an account with the appropriate permissions. Furthermore, this account must have read permissions for the SCCM database.
Create a ‘Full Administrator’ user
The computer on which SCCM Manager is installed must be added as a ‘Full Administrator’ user on the SCCM server assigned to it. Microsoft Endpoint Configuration Manager is required to create a ‘Full Administrator’ user.
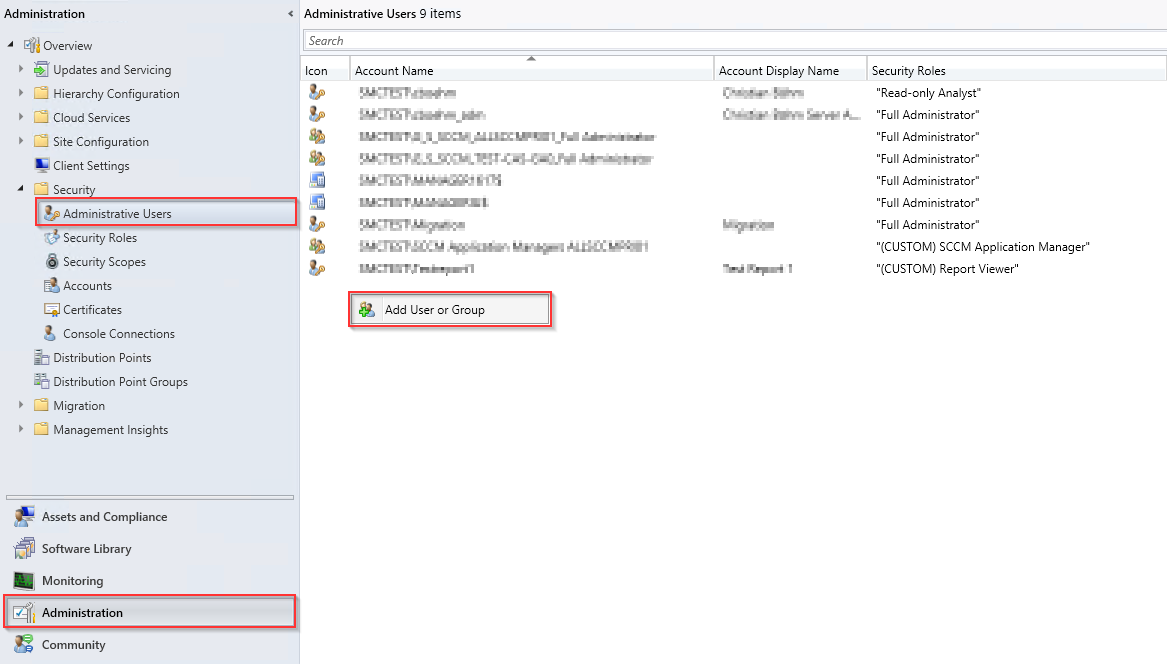
There, you need to select the ‘Administration’ menu item. In the “Security” folder, you can add new users under ‘Administrative Users’.
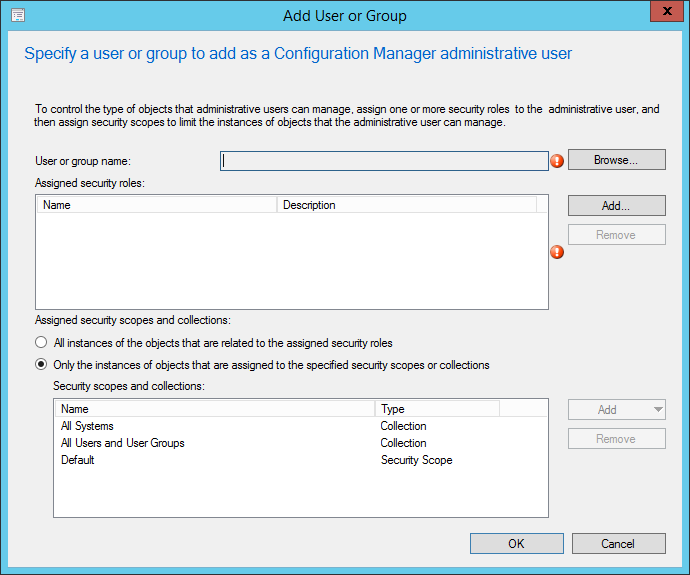
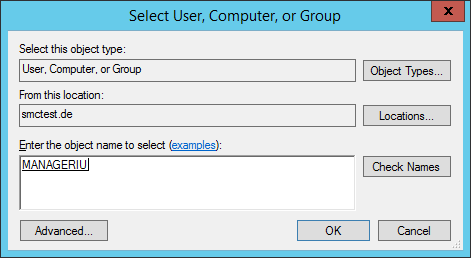
You can now create the new user in the ‘Add User or Group’ window. To do this, you must first enter a name. By clicking ‘Browse...’, you can automatically select existing users from the domain.
 |
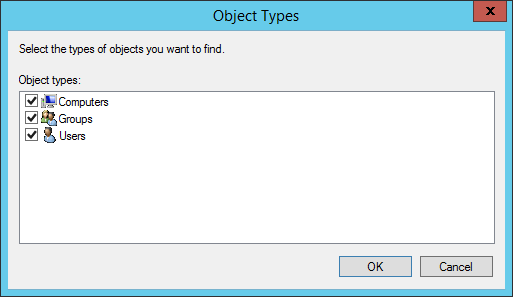 |
To ensure that computer names are also filled in automatically via ‘Check Name’, you must select “Computers” under ‘Object Types’. Click ‘OK’ to add the computer.
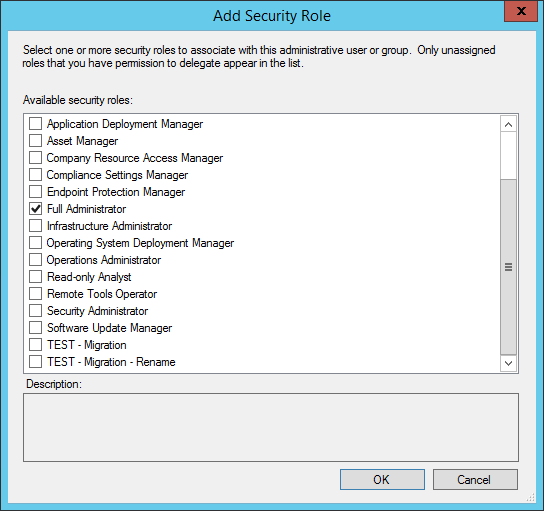
Under ‘Assigned security roles’, click “Add” and select the ‘Full Administrator’ security role. Click ‘OK’ to confirm.
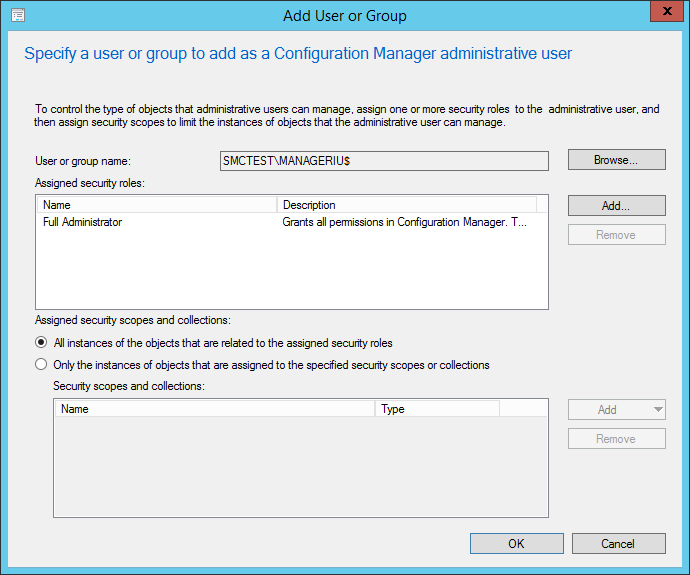
Under ‘Assigned security scopes and collections’, select the first option. Click “OK” to confirm. A ‘Full Administrator’ user has now been created for the computer
Additional information on client configuration
When using SCCM Manager, it is recommended that you grant the server’s system account administrative permissions on the clients to be managed. This is done by adding the system account to the ‘Local Administrators’ group on the clients to be managed.
Further information on this:
Sceurity Considerations for All Services