Client - Computer Lists
Computer lists are provided to assist the administrator when working with the same groups of computers. These are collections of computer groups that users can configure themselves. For daily tasks involving recurring groups of computers—such as all computers in Room X—you can create a personal computer list. Creating computer lists speeds up your work because you don’t have to manually select the group of computers each time.
Overview
- Work space
- Create computer lists
- Add / remove computer lists
- Import computer lists
- Duplicate computer lists
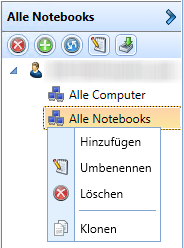
Work space
The computer list editor is located on the right side of the computer search section. This section displays and manages the computer lists created by users.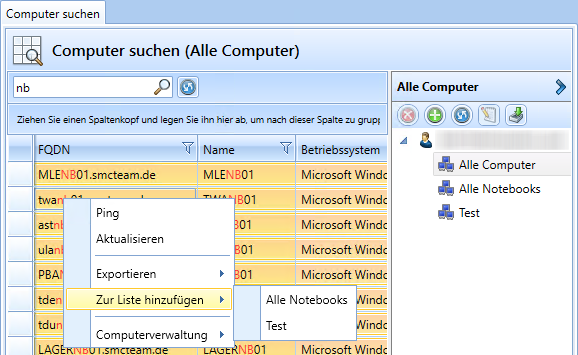
The first list always includes all available computers that the user is authorized to view. This list cannot be edited; only filter settings can be configured and saved here.
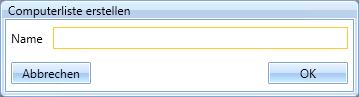
Create computer lists
A new computer list is created by clicking the  button.
Add / remove computer
After creating a new computer list, it is initially empty.
Right-clicking on any computer object opens a context menu. This menu includes the option “Add to list”.
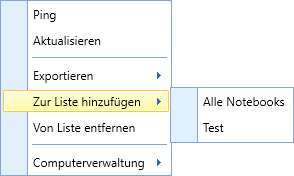
To remove computers from a computer list, select the relevant computers in the computer search area. Then right-click to open the context menu. Click the “Remove from List” button to remove the selected computers from the computer list.
Import computer lists
A quick way to create a populated list of computers is to import computer lists. This feature makes it easy to transfer computers from an existing list of computers located outside of SCCM Manager. Such lists can include, for example, Excel lists or entries from databases. To import, the computers must be saved in a text file. The computer names must be listed one below the other. This means that each computer name must be followed by a line break (CR). The computers imported in this way must be within the user’s permission scope.
- Click the
 button to start the computer import.
 - A file browser will open. Select and open the .txt file you want to import.
- Enter a name for the imported list.
- The list will be created using the computers specified in the text file.

Duplicate computer lists
Another quick way to create a populated computer list is to clone an existing computer list. If another user has already created a list containing the correct computers, you can clone that list. To do this, hover the mouse pointer over the computer list belonging to that user. Right-clicking opens a context menu. Selecting the “Clone” option from the context menu will then clone this list for the current user and save it under their login name.