SCCM Connections
To work with the SCCM Application Manager, you must first connect to the site server. Please note:
- The user must have sufficient permissions.
- If the SCCM Application Manager is started on a site server the user name and password cannot be specified because local logins to a WMI namespace are not possible (see error description WBEM_E_LOCAL_CREDENTIALS).
- When defining the site server, an IP address cannot be used. Instead the name resolution must work between forests and a fully qualified domain name (FQDN) must be specified. The following graphic illustrates in four steps the connection process that is performed in the background using the Microsoft SDK:

- After entering the IP address 192.168.1.101, a connection to the site server will be established.
- The WMI namespace \root\SMS will be used.
- The instance of the class SMS_ProviderLocation contains the wanted value for the NamespacePath.
- From this point, the WMI namespace \\SCCM.home.local\root\sms\site_TRU will be used instead of the IP address 192.168.1.101. Therefore the server name SCCM.home.local must be solvable, otherwise the connection failes.
According to the previous description, the values for the fields Site Server, Username and Password must be entered.

Starting with version 2.7.2.0 of the SCCM Application Manager different connection settings, including the desired color palette, can be used. This makes it easier to work with different sites.
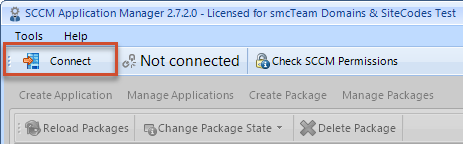
After clicking the Connect button...
...the following dialog is displayed:
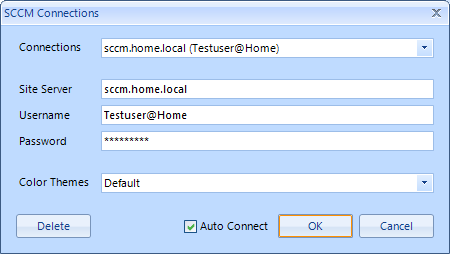
You can then select the desired connection, create a new connection, or delete an existing connection. The checkbox Auto Connect determines if the current connection should be reused if the SCCM Application Manager starts, or not.
Once a connection has been established, it is displayed accordingly in the SCCM Application Manager.
