Creation
Before you create applications, you must connect to the site server.
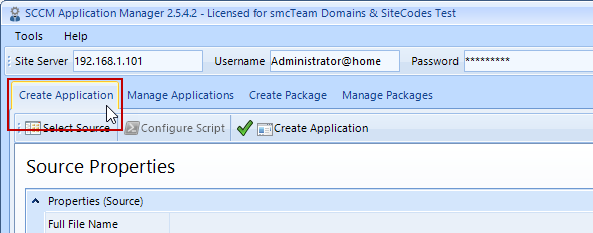
Then the tab Create Application must be selected.
The creation of an application takes place in three steps.
- Select Installation Source (Select Source)
- Adjust the properties of the future application if necessary
- Create the application (Create Application)
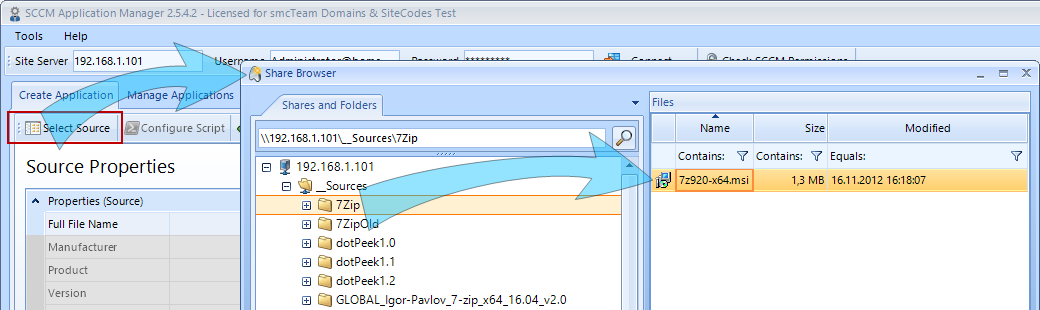
Select Installation Source
After clicking on the button Select Source a special file browser opens, which works with shares.
The installation source can be selected within this share browser.
The SCCM Application Manager supports the following installation sources:
- Windows Installer files (*.msi, *.mst)
- Executable scripts (*.exe)
- PowerShell scripts (*.ps1)
- Command line scripts (*.cmd)
- VB scripts (*.vbs)
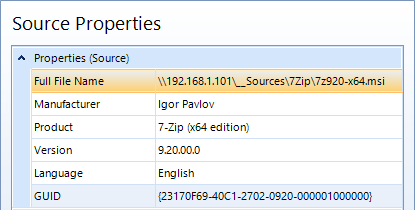
After pressing OK the SCCM Application Manager tries to read the properties of the installation source and displays them in the Source Properties area.
The reading of the properties from an installation source depends on certain factors:
-
For an MSI file, all properties can be read because they are mandatory.
- For executable files (*.exe), it depends on whether the manufacturer have been entered these properties in the header of the file. If not, these properties must be typed in by hand.
- For all scripts like *.ps1, *.cmd, *.vbs files it depends on whether regular expressions have been stored for each type of script, see this chapter. If not, these properties must be typed in by hand.
When working with scripts, the selected script is also displayed.
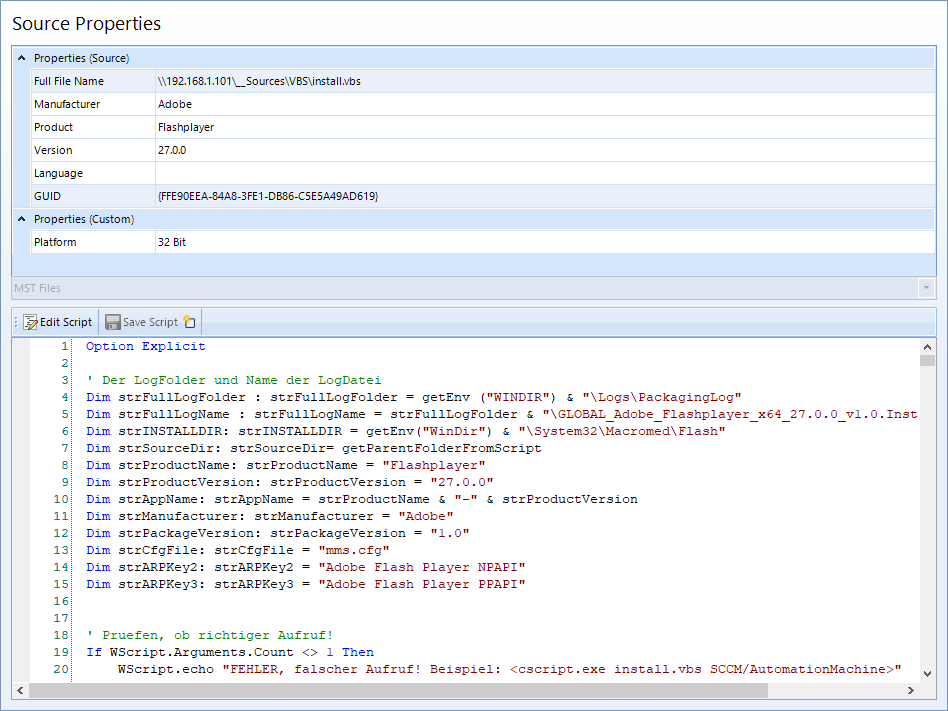
This script is read-only by default, but it can be edited after clicking the Edit Script button and saved with Save Script.
Installation Sources Without a Product Code
Typically, a product is identified by its product code. This product code, e.g. {894124B6-B1FF-4911-9BE0-8018E97167E2}, is stored within the Registry under:
HKEY_LOCAL_MACHINE\SOFTWARE\Microsoft\Windows\CurrentVersion\Uninstall\{894124B6-B1FF-4911-9BE0-8018E97167E2}
But there exist also installation routines that enter the name of a product or anything else:
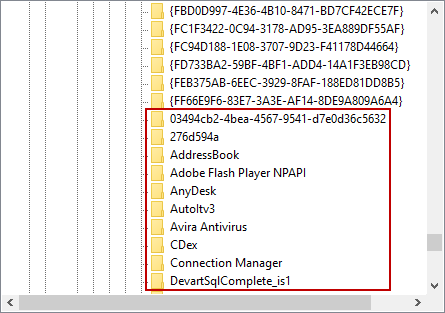
In this case, the Uninstall Registry Key field is provided within the source Properties. This field can be filled in either by hand or by a regular expression, which is used to read the value from a script.
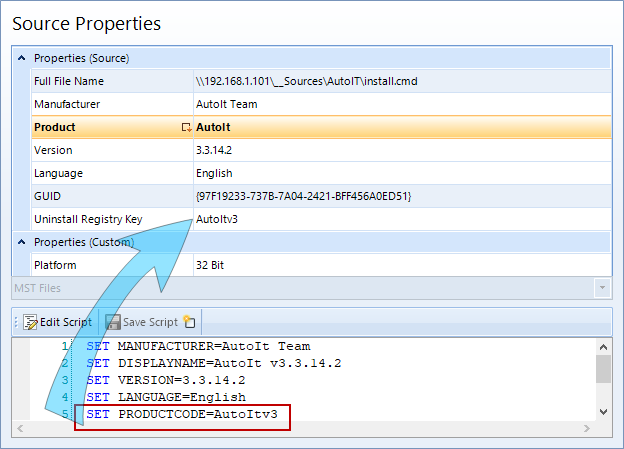
If it is not an MSI installation and a value is entered in the Uninstall registry key field, it overrides the value of the GUID when the application is created.
Modifying application properties if necessary
Within the deployment option drop-down list, you can select different advertisement options:

- One install deployment, one uninstall deployment (Standard)
- Two install deployments, one uninstall deployment
- One install deployment, no uninstall deployment
- Two install deployments, no uninstall deployment
- No deployments, application or package only
Application creation for devices or users
When creating applications, you can specify whether the associated collections should be created for devices or for users. For this purpose, the corresponding option must be selected before creating the application.

Allow end users to repair the created application
The creation of an application with repair command line is enabled via the Use Repair Option checkbox. Users will see an option to repair the application in the Software Center.

If the SCCM Application Manager was configured sufficiently in advance (see global Configuration, Application Configuration and Application Return Codes), subsequent adjustments are minimal. It is often enough to check if the Source Properties were fully read.
If changes are made in the area of the Source Properties, these changes have a direct effect on the Application Properties. These are the properties that will be used during the creation of an application.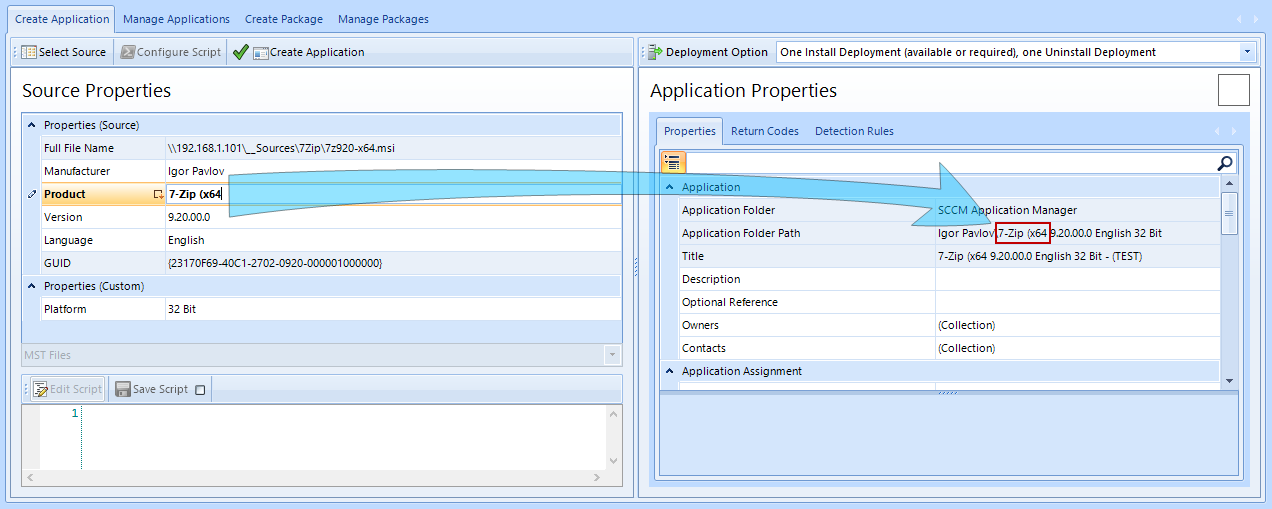
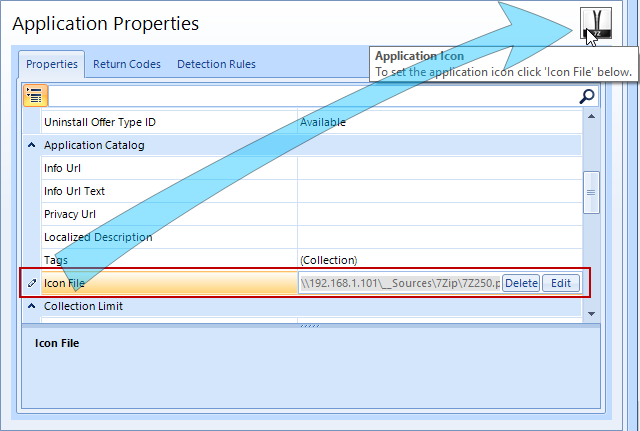
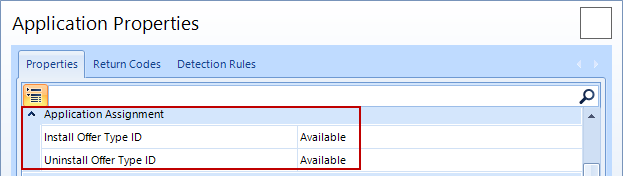
If you want the application to appear in the Software Center on the client, the following settings should be considered:
- The [Un]Install Offer Type Ids should be set to Available.

- The application should have an Icon File that can be added. The minimum size of this icon must be at least 32 x 32 pixels, because otherwise the result in the Software Center on the client looks distorted. In addition, the image may be a maximum of 250 x 250 pixels in size.
Since the introduction of Microsoft ® System Center release 1710, larger icons are no longer distorted. Please see here.

All Application Properties with a white background can be customized. Grayed-out properties can either be changed indirectly via the Source Properties, or their values are stored globally (see global Configuration and Application Configuration) and must be changed there.
In the Return Codes tab, additional return values can be defined. In the Detection Rules tab you can select or customize templates for detection rules (see Applications Configuration).
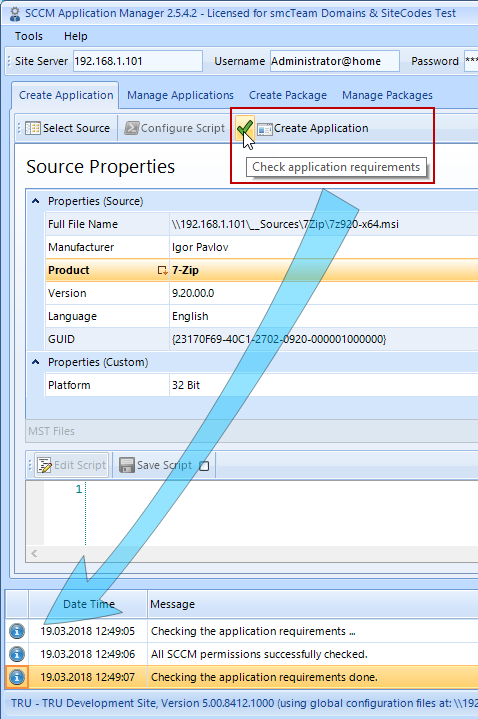
Create the Application
Before an application is created, it should be checked whether all settings have been made correctly. The button ✅ gives information about it. If clicked, all settings will be checked. Any errors are displayed within the status messages. The button ✅ does not create an application.