Updating SCCM Manager Tools
The SCCM Manager uses additional software components (“tools”) to configure specific plugins or functions of the SCCM Manager.
These tools are installed as part of the SCCM Manager Server Setup and are located in the following installation directory:
C:\Program Files (x86)\smcTeam\SCCM Manager\ToolsDue to bug fixes or the introduction of new features, updated versions of individual tools may be released independently of a new SCCM Manager Server Setup.
This guide explains how to update tool versions in an existing SCCM Manager environment.
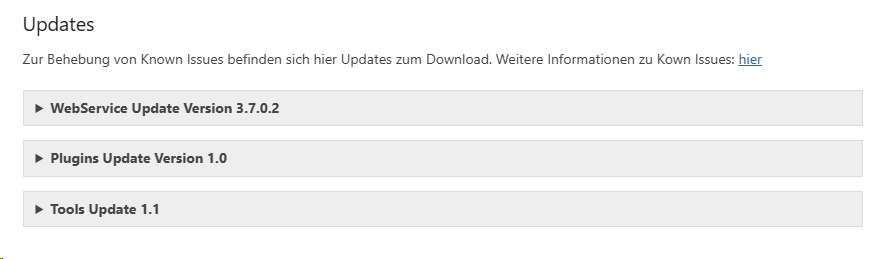
1. Download the new version
When new versions of tools, plugins, or SCCM Manager setups are available, they are provided as ZIP files on the official smcTeam download page: smcTeam Downloads
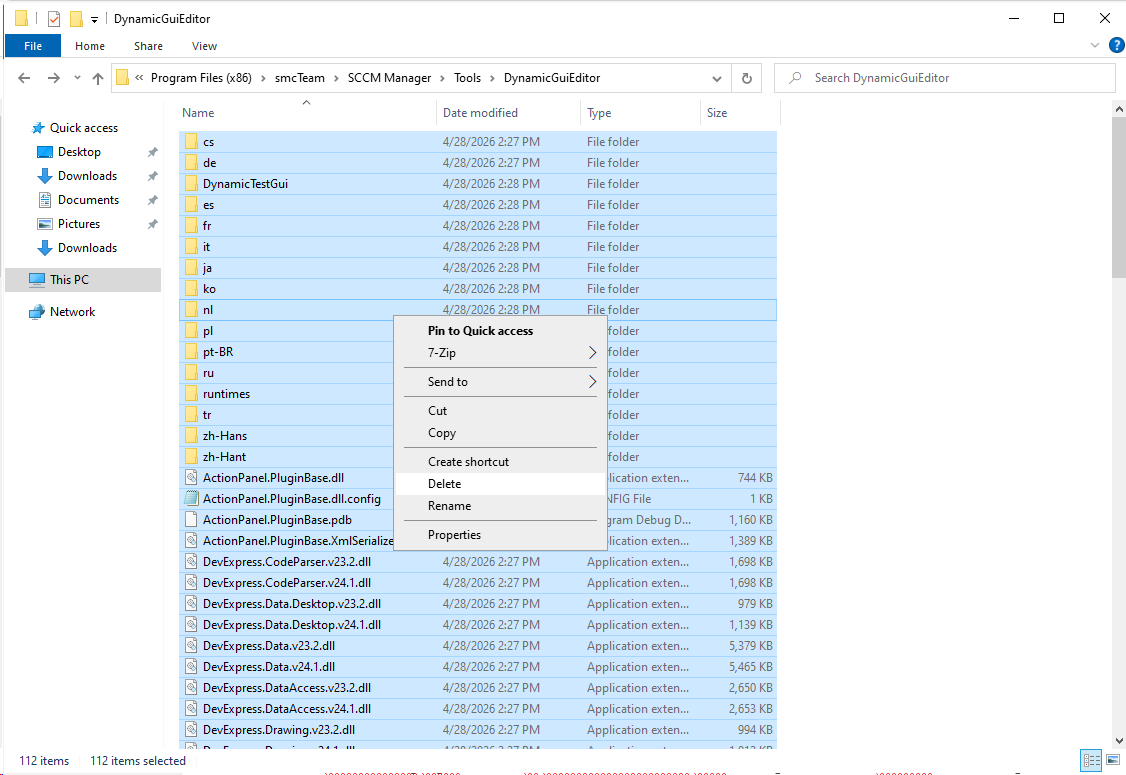
2. Remove existing files
Before updating, the existing files of the corresponding tool should be removed or moved to a separate backup directory.
By default, all tools are located in the following directory:
C:\Program Files (x86)\smcTeam\SCCM Manager\Tools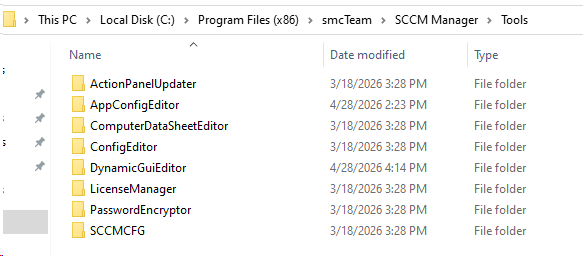
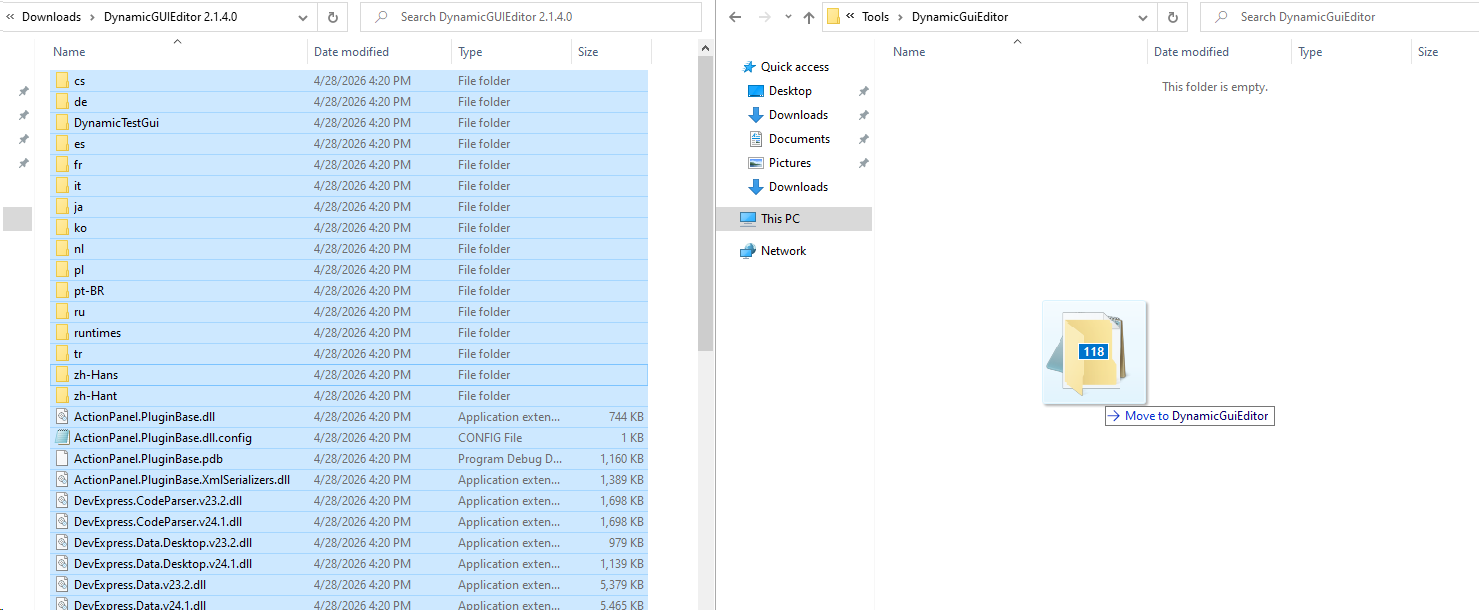
In this example, the existing files in the DynamicGUIEditor folder are removed.
3. Extract and copy the new version
Extract the downloaded ZIP file.
Then copy the extracted files into the corresponding tool directory.
In this example, the extracted files of the DynamicGUIEditor are copied into the previously emptied DynamicGUIEditor folder.
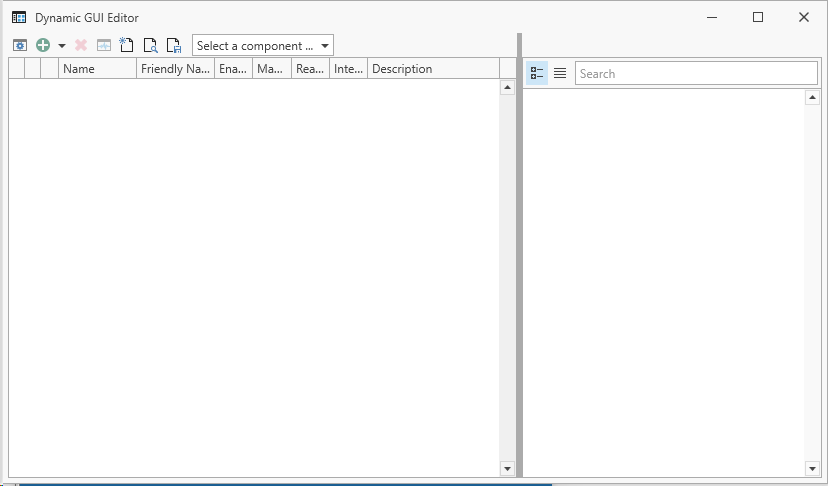
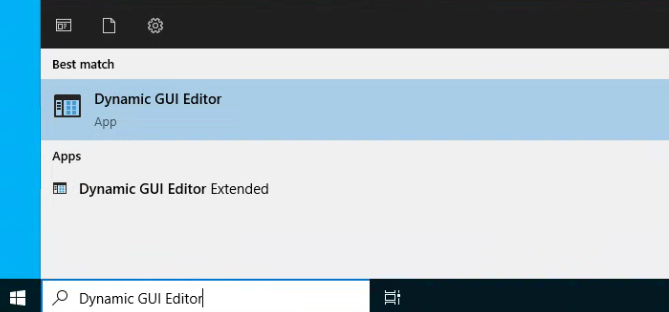
4. Test the shortcut
If the new files are placed in the same folder structure as the previous version, the existing Start Menu shortcuts will continue to work.
The updated tool should now start without any issues.
During the first launch, a security warning from Windows Defender may appear. In this case, click “More information” and then “Run anyway” to proceed.
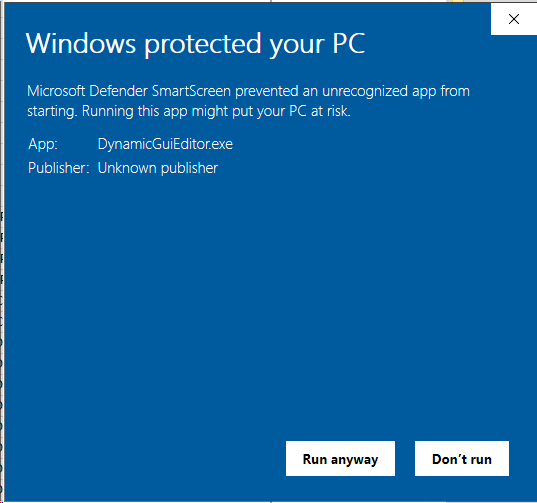
After that, the tool will start as usual.